Table of Contents
Introduction: Are You Ready to Rethink Dessert?
Have you ever wondered why traditional desserts always come with a side of guilt? Sure, they taste amazing, but the sugar rush and carb overload can leave you feeling sluggish. What if there was a way to enjoy creamy, indulgent cheesecake without sacrificing your health or diet goals? Enter keto cheesecake —the game-changing dessert that’s rich in flavor and low in carbs. In this article, we’ll explore 12 reasons why keto cheesecake is not just better for your body but also more delicious than its sugary counterpart. Let’s dive in!
Overview: Why This Recipe Stands Out
If you’re new to baking or keto-friendly cooking, don’t worry—this recipe is surprisingly simple! Making keto cheesecake requires only basic kitchen tools and ingredients, and it’s ready in about 45 minutes (plus chilling time). The difficulty level? Beginner-friendly. With step-by-step instructions and helpful tips, even novice bakers can whip up a show-stopping cheesecake.
Here’s what makes this recipe special:
- Rich Flavor : Creamy and decadent, just like classic cheesecake.
- Low-Carb Bliss : Packed with healthy fats and no refined sugars.
- Customizable : Add-ins like berries, chocolate chips, or nuts make it endlessly versatile.
Ready to get started? Keep reading!


Essential Ingredients: Building Blocks of Keto Perfection
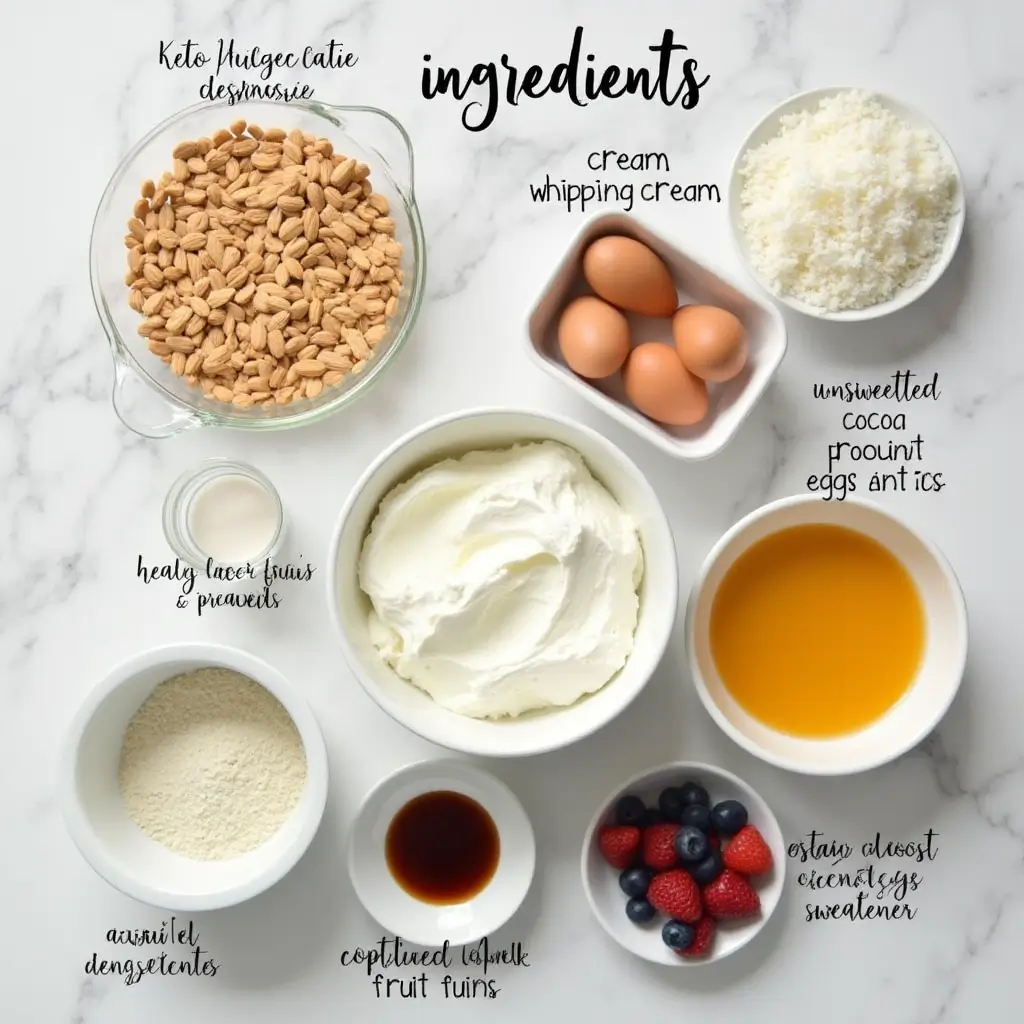
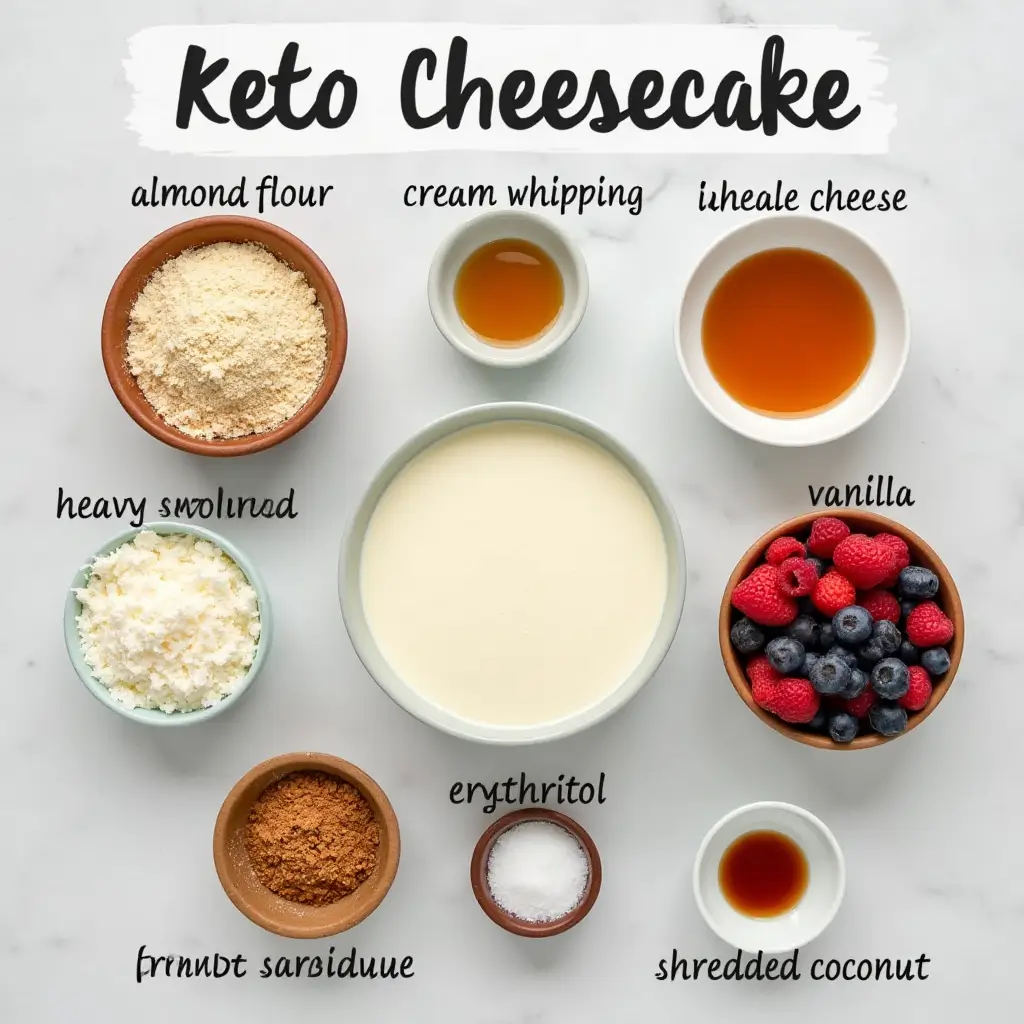
To create a perfect keto cheesecake, you’ll need these key ingredients:
Base Ingredients:
- Almond Flour : A gluten-free alternative to regular flour that adds structure to the crust.
- Erythritol or Monk Fruit Sweetener : Sugar substitutes that keep things sweet without spiking blood sugar levels.
- Cream Cheese : The star ingredient for that signature cheesecake creaminess.
- Heavy Whipping Cream : Adds richness and helps achieve a smooth texture.
- Eggs : Acts as a binding agent and gives the cheesecake its fluffy consistency.
- Vanilla Extract : Enhances the flavor profile naturally.
Optional Add-Ins:
- Shredded Coconut
- Unsweetened Cocoa Powder
- Fresh Berries (like strawberries or raspberries)
Substitutions and Variations:
- Swap almond flour for coconut flour if you prefer. Note: Coconut flour absorbs more liquid, so adjust accordingly.
- Use stevia instead of erythritol if you have a preference for different sweeteners.
Step-by-Step Instructions: Your Guide to Success
Follow these easy steps to bake your dream keto cheesecake:
Step 1: Prepare the Crust
- Preheat your oven to 350°F (175°C).
- Mix almond flour, melted butter, and sweetener in a bowl until crumbly.
- Press the mixture into the bottom of a springform pan coated with parchment paper.
- Bake the crust for 8–10 minutes, then set aside to cool.
Step 2: Make the Filling
- Beat softened cream cheese with an electric mixer until smooth.
- Gradually add sweetener, heavy cream, eggs, and vanilla extract while continuing to beat.
- Scrape down the sides of the bowl occasionally to ensure everything is evenly mixed.
Step 3: Combine It All
- Pour the filling over the cooled crust.
- Gently tap the pan on the counter to remove air bubbles.
Assembly: Putting It All Together
Once your cheesecake batter is poured into the crust, it’s time to assemble and decorate:
- Swirls and Toppings : Drop small spoonfuls of cocoa powder or berry puree onto the surface and swirl gently with a toothpick.
- Baking Time : Bake at 350°F (175°C) for 45–50 minutes, or until the edges are set but the center jiggles slightly.
- Chill Before Serving : Allow the cheesecake to cool completely before refrigerating for at least 4 hours (or overnight).
Pro Tip: For a polished presentation, dust powdered erythritol over the top using a fine sieve.
Storage and Make-Ahead Tips: Keeping It Fresh
Keto cheesecake stays fresh in the fridge for up to 5 days when stored properly. Here’s how:
- Wrap individual slices tightly in plastic wrap or place them in an airtight container.
- To reheat, microwave briefly (about 10 seconds per slice) or let it sit at room temperature for 15–20 minutes.
Planning ahead? You can freeze the entire cheesecake for up to 2 months. Simply thaw it in the refrigerator overnight before serving.
Recipe Variations: Get Creative!
Why stick to one flavor when you can experiment? Here are some ideas to spice up your keto cheesecake:
- Chocolate Lovers Delight : Fold in unsweetened cocoa powder and dark chocolate chips.
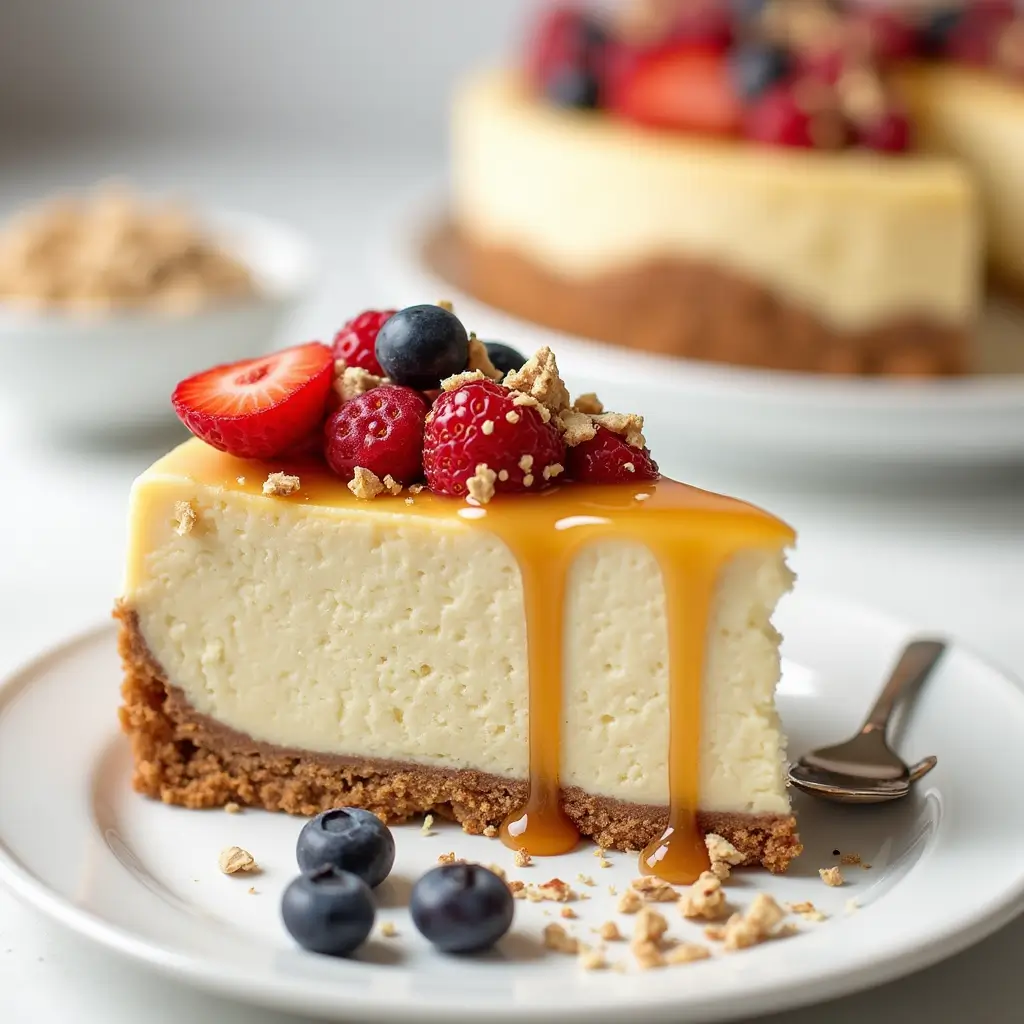
- Berry Blast : Top with fresh or frozen raspberries, blueberries, or strawberries.
- Peanut Butter Magic : Swirl in natural peanut butter for a salty-sweet twist.
- Coconut Dream : Sprinkle shredded coconut over the crust and filling for tropical vibes.
Conclusion: Enjoy the Sweet Life Without Guilt
There you have it—your ultimate guide to making keto cheesecake! From its superior health benefits to endless customization options, this dessert proves that low-carb doesn’t mean less flavor. So go ahead, invite friends over, and serve up slices of happiness. Don’t forget to tweak the recipe to suit your tastes and share your creations online. Happy baking!
FAQs: Answers to Common Questions
Q: Is keto cheesecake healthier than regular cheesecake?
A: Absolutely! Keto cheesecake uses low-carb, high-fat ingredients, avoiding harmful refined sugars found in traditional versions.
Q: Can I use Splenda instead of erythritol?
A: Yes, though Splenda may alter the texture slightly due to differences in sweetness intensity.
Q: How long does keto cheesecake last in the fridge?
A: Up to 5 days if stored properly in an airtight container.
Q: Does keto cheesecake require cooling after baking?
A: Yes, chilling ensures the cheesecake sets properly and achieves its signature creamy texture.
Now that you know all about keto cheesecake, it’s time to grab your apron and start baking!

